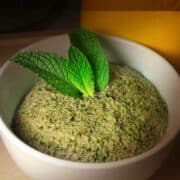
Mint Peanut Chutney
Mint and peanuts complement each other amazingly well. The mild heat factor, a garlicky kick, and bit of soury sweetness from the tamarind make it a must try for your taste buds. Peanut Mint Chutney is traditionally spread on dosas, naan, or chapatis. However, enjoying it with any cracker or your favorite bread is just as enticing.
Servings 6 people
Calories 284kcal
Ingredients
- 1 ½ cups peanuts (roasted and unsalted)
- 1 ½ cups mint leaves (pack in cup. Fresh not dried.)
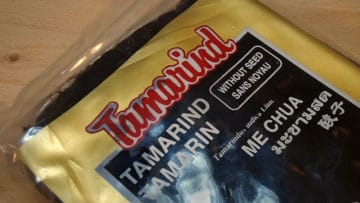
- 4 ½ oz seedless tamarind (block tamarind)
- 3 cloves garlic
- 2 green chille peppers
- ½ tablespoon salt (or to taste)
- ¼ cup water (use during food processing)
Instructions
- You will be cutting off a 125 gram/4.5 ounce piece from your tamarind block. I recommend using a kitchen scale to weigh it. If you don’t have a scale, try to use the full weight listed on the package to decide how much to cut off. For example, one half of a 500 gram block would get be the same as 250 grams. Half of the 250 gram chunk would be 125 grams and so on.
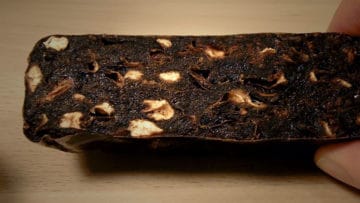
- Take a closer look at the tamarind chunk you just sliced off. Notice the lighter fiberous parts. You’ll strain these out later on. Remember, these lighter parts are not the seeds, although they may appear that way.
- Pour 250 ml/one cup of hot tap water or enough to cover the tamarind in a bowl. The smaller your bowl, the less water you’ll need to cover the tamarind. If you find your hot tap water isn’t very hot, you can use half tap water, half boiled water. The exact temperature of the water isn’t important, just make sure it’s almost too hot for your your hand to touch. Using cooler water won’t ruin things, but it will make the tamarind harder to break up in later steps of the recipe.
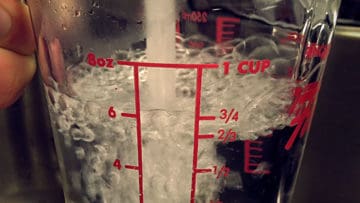
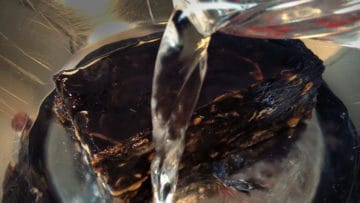
- Pour the hot water into the bowl with the tamarind. The water should completely cover the tamarind. Soak the tamarind for 20 minutes.
- Break up the tamarind with your hands until it is completely squished into a pulp (1). The texture of the tamarind should be smooth with several chunky bits (2).
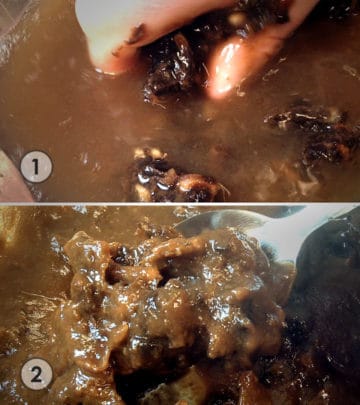
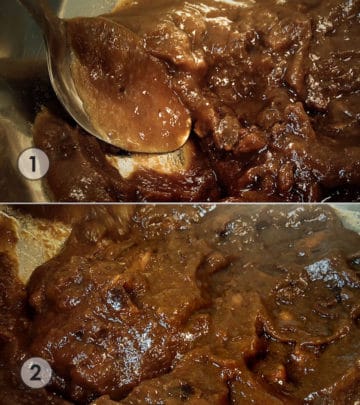
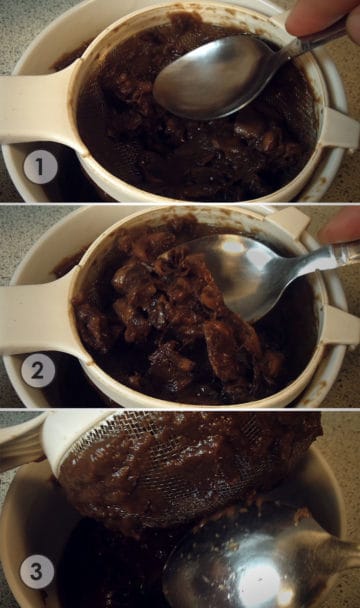
- Use the bottom of a spoon to squish the tamarind against the sides of the bowl (1). This will smooth out the pulp you weren’t able to smush with your hands. The texture should be even smoother now with only a few chunky bits (2).
- Transfer the tamarind to a strainer with a bowl underneath. Depending on the size of your strainer and bowl you may need to transfer a little tamarind at a time in batches.
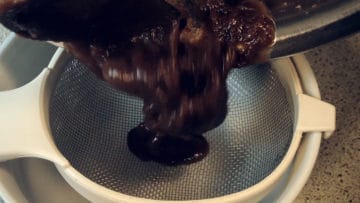
- Use a spoon to smush the tamarind pulp against the bottom and sides of the strainer (1). Only the smoothest part of the tamarind will come out the bottom of the strainer. The rough pulp will be left behind (2). Don’t forget to scrape the bottom of the strainer to collect all of the strained tamarind (3).
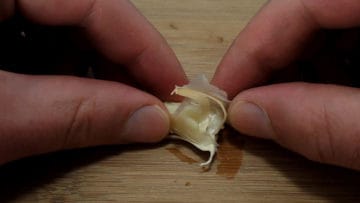
- It’s time to finalize the ingredients for the food processor. Peel off the skin of the garlic cloves. An easy way to do this is to smash each clove firmly on a cutting board with the bottom of coffee cup. The peels should easily pull off after smashing them.
- Break the stems off of the green chili peppers. Just snap them off with your thumb and forefinger.

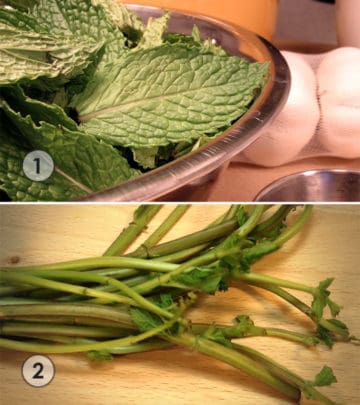
- Remove the mint leaves from the stems (1). Do not use the mint stems because they can taste bitter (2).
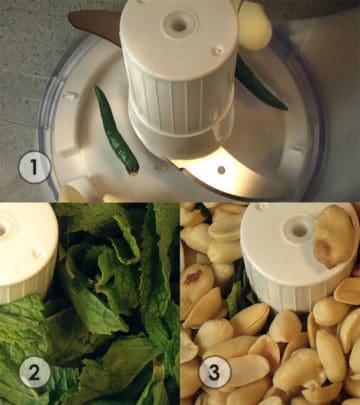
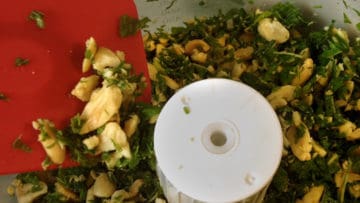
- When adding the ingredients to the food processor, first add the green chili peppers and garlic (1), then the mint leaves (2), followed by the peanuts (3). Putting the chili peppers and garlic at the bottom will keep them closer to the blades, chopping them more efficiently.. The weight of the peanuts on top will push the mint down into the blades also improving the chopping action.
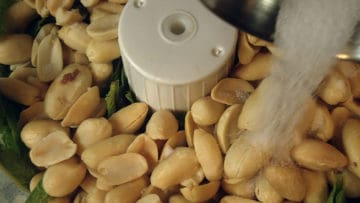
- Add the salt. If you’re using salted peanuts, you may want to skip the salt or at least reduce it.
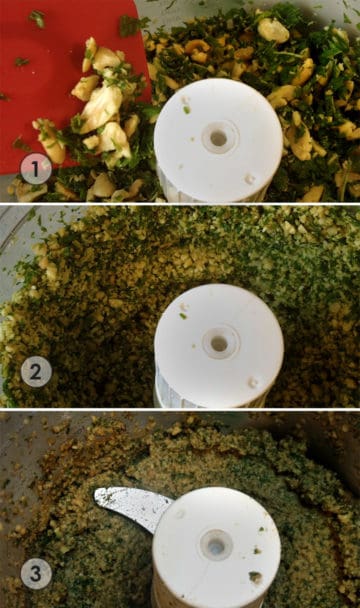
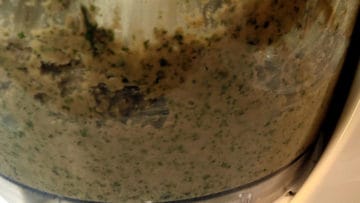
- Now the food processing begins. There are three stages you’ll want to look for throughout this process. Knowing what to look for before you start will give you more confidence. Here are the three stages:(1) Peanuts are partially broken up and the mint is in small pieces.(2) The chutney is taking on a fine texture, but is not pasty and does not stick together much.(3) A think paste has formed. The Peanut Mint Chutney is ready for serving.
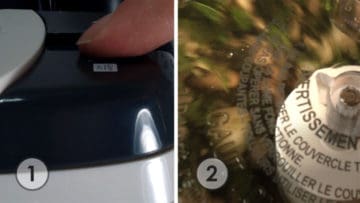
- OK, let’s get the food processing started.Find the pulse button on your food processor. Tap the button in short bursts several times to chop the ingredients (1). The short time between pulses lets the ingredients fall down towards the blades. This pulsing action is often used to break down items at the beginning stages of food processing (2).
- Continue pulsing until the peanuts are just starting to break up. The mint should be in very small pieces at this point.
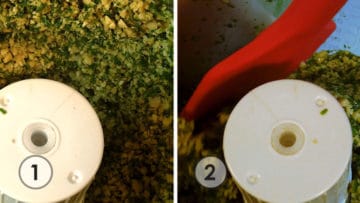
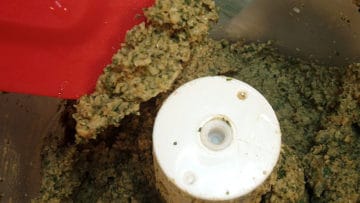
- Turn your food processor on full speed for a while. The mixture will soon look like it isn’t moving anymore and will collect at the outer edges of your food processor (1) .Remove the lid and push the mixture back towards the centre with a spatula (2).
- Repeat the previous step of processing at full speed and pushing the mixture to the center. Do this several times until the mixture is very fine, but hasn’t turned into a sticky paste.
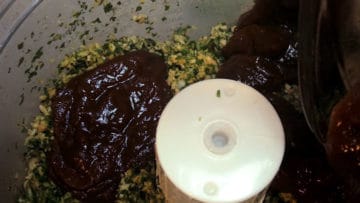
- Add the strained tamarind you prepared earlier. Run the food processor at full speed for about 10 seconds.
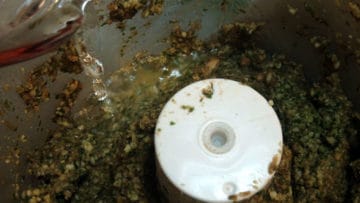
- Add the ¼ cup/125 ml of water, and mix at full speed.
- Repeat the earlier mentioned process of mixing at full speed and then pushing the chutney back to the center of the food processor.
- Your mixture will start moving very slowly around the food processor. You’ll have to be a bit patient. As long as the mixture is still moving and small amounts of chutney slowly tip into the center from the outside, things are working normally. If the mixture is not moving at all, you can add a few tablespoons of water at a time until the mixture starts moving again.
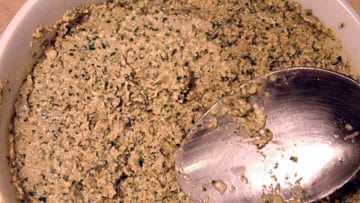
- After repeating the mixing and push to center steps several times, the chutney will start to appear as a thick paste. It’s completely up to you how fine or chunky you would like your chutney to be.
- Transfer the Peanut Mint Chutney to a bowl
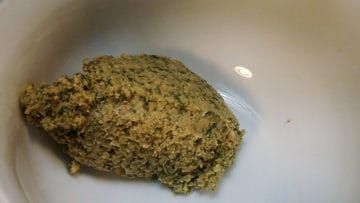
- You can eat as is, or smooth out and shape the chutney to make an appetizing presentation.